Ashton and Lea Golf Club


The Course - Hole 5

Pro’s Tip
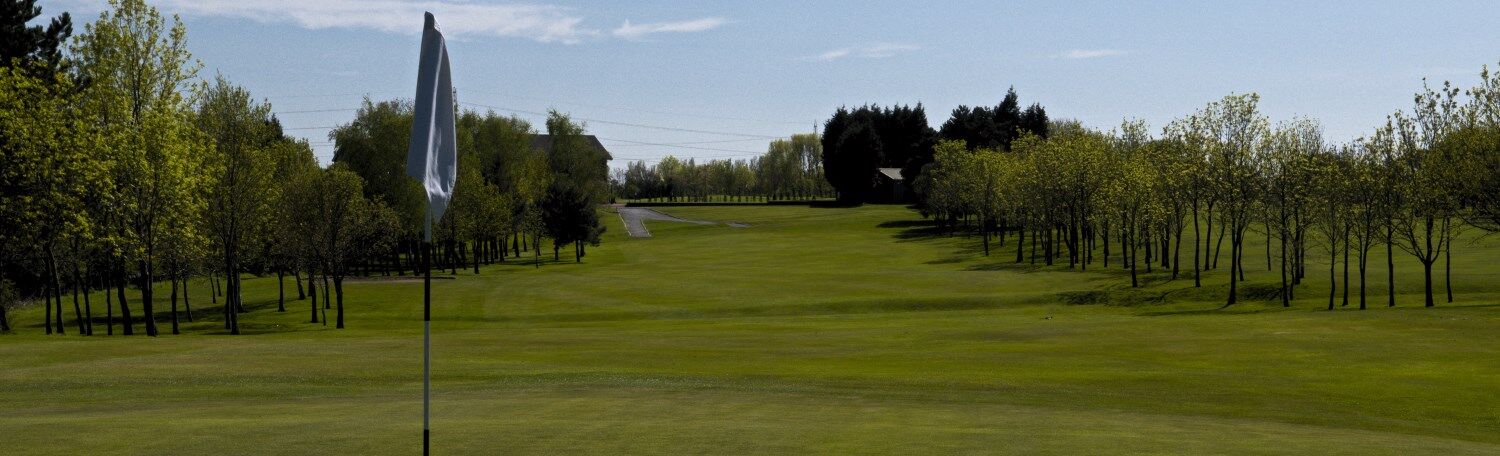
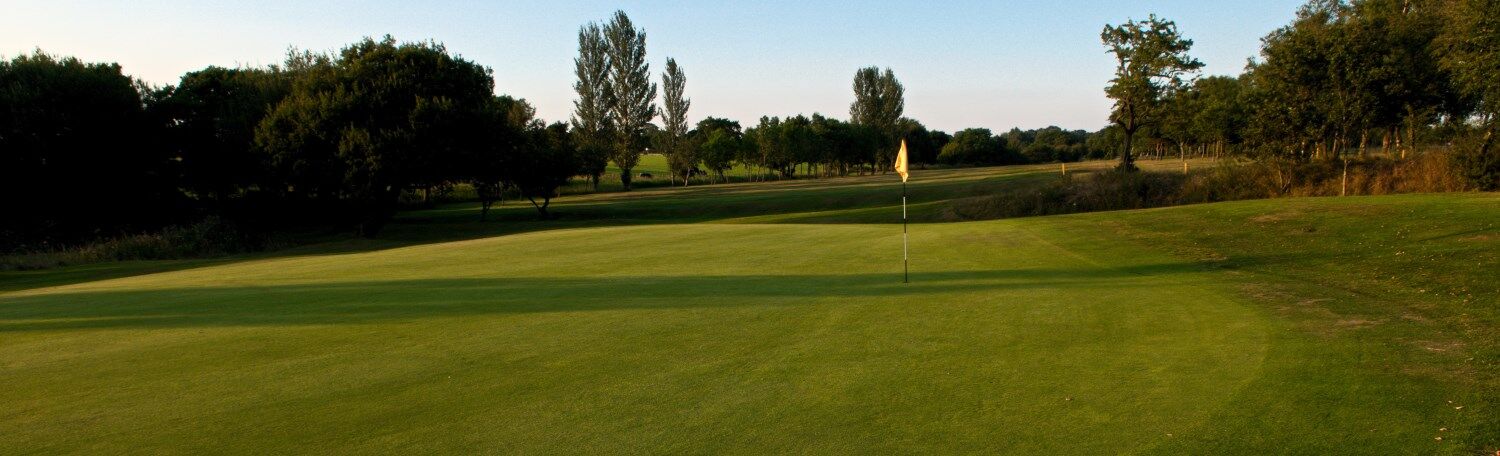
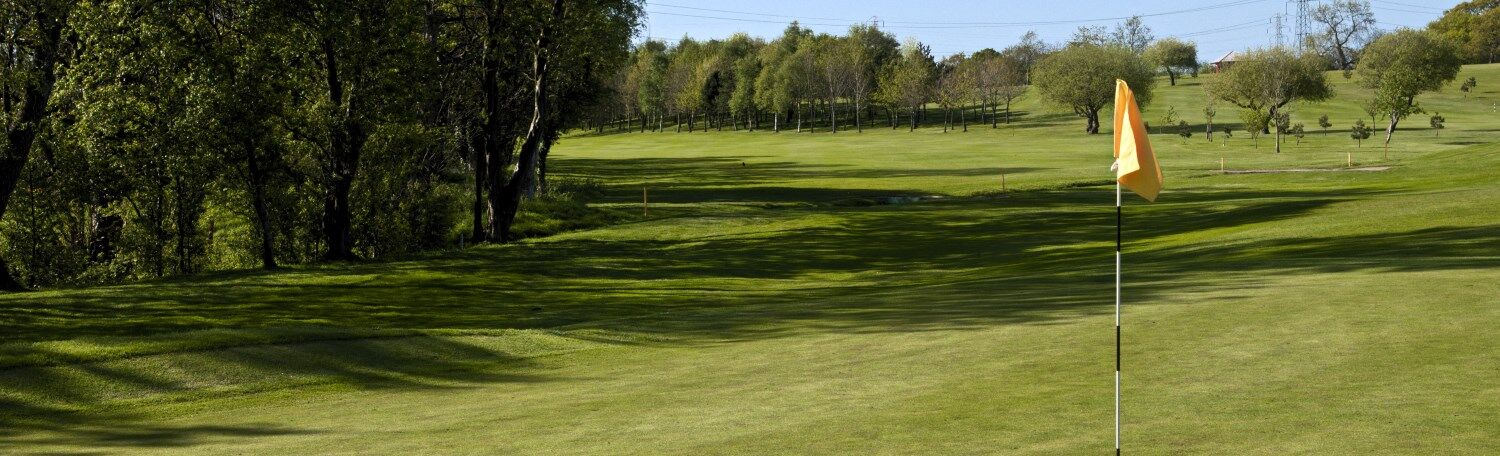
An elevated tee gives a clear view of the fairway and the water hazards. A large open water hazard on the left of the fairway is a feature of this hole and with a second further towards the green on the right gives the feeling of a narrow approach to this small well-guarded green. Bunkers to left and right will catch any over ambitious shots which stray wide of the green, which again angles back to front. It should be said that this is probably the most exposed area of the course. You have been warned!
|
358 Yds |
351 Yds |
291 Yds |
PAR 4 |
Created by intelligentgolf version 10.1.2.


2024 © Copyright by Ashton & Lea Golf Club. All Rights Reserved. Privacy Policy | Terms & Conditions