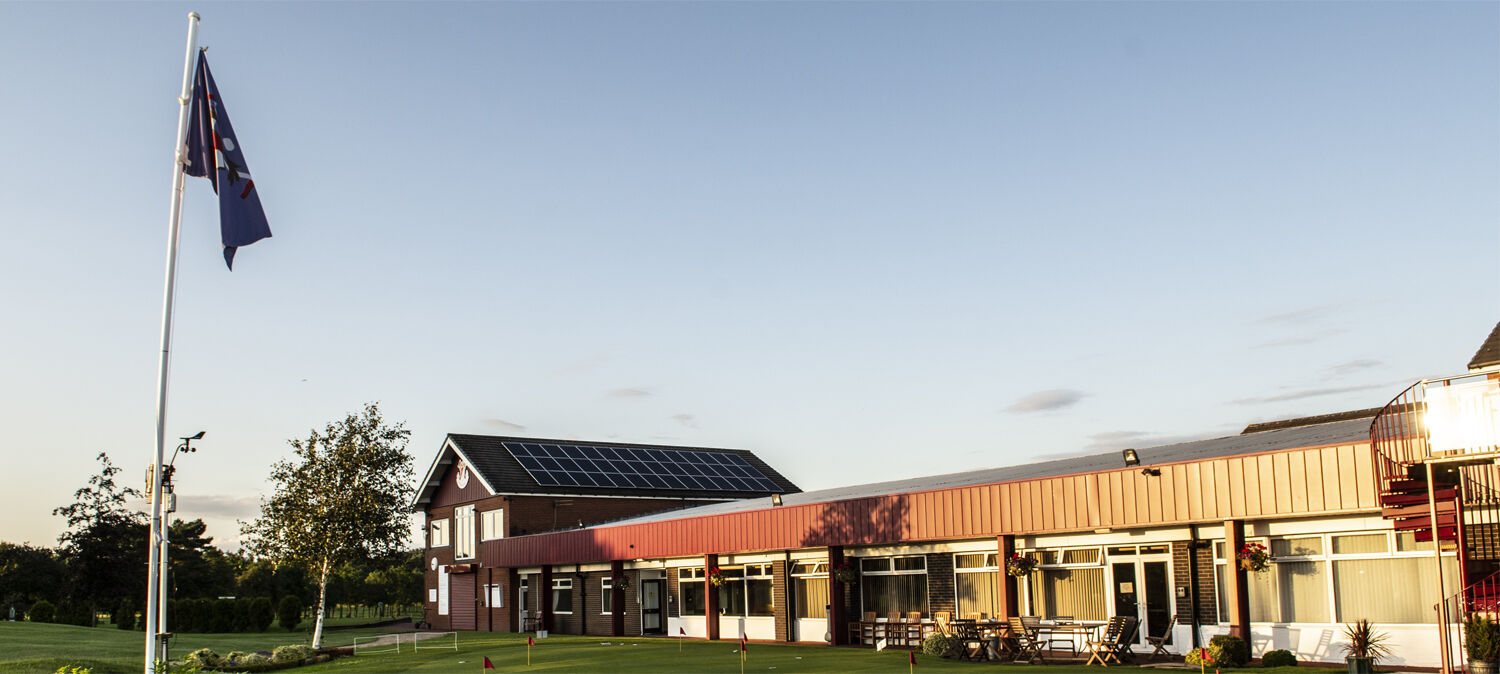
Ashton and Lea Golf Club


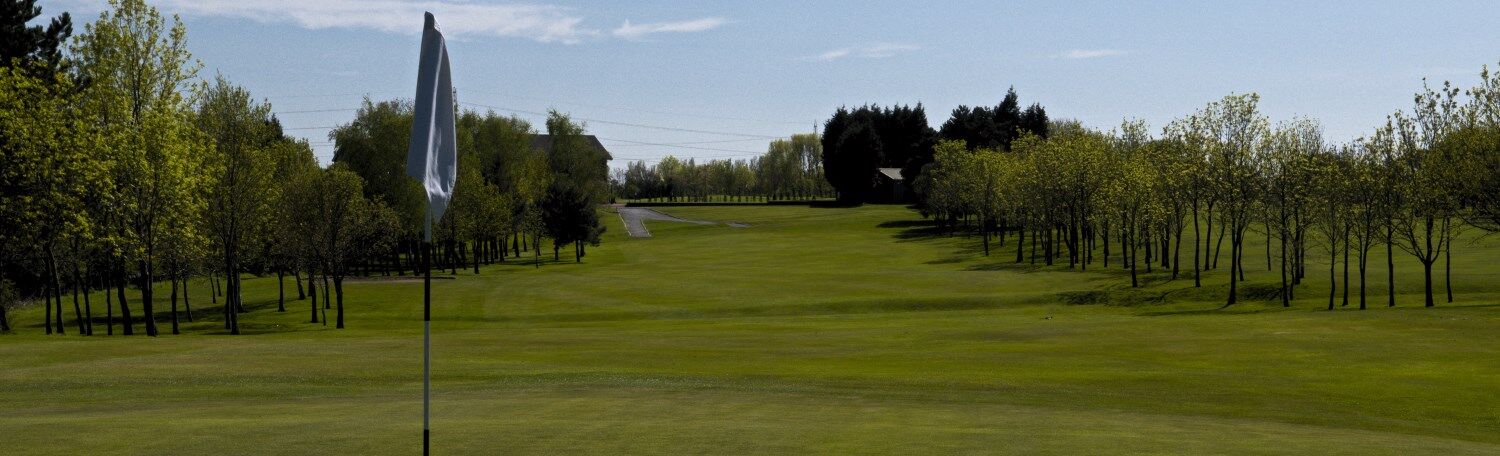
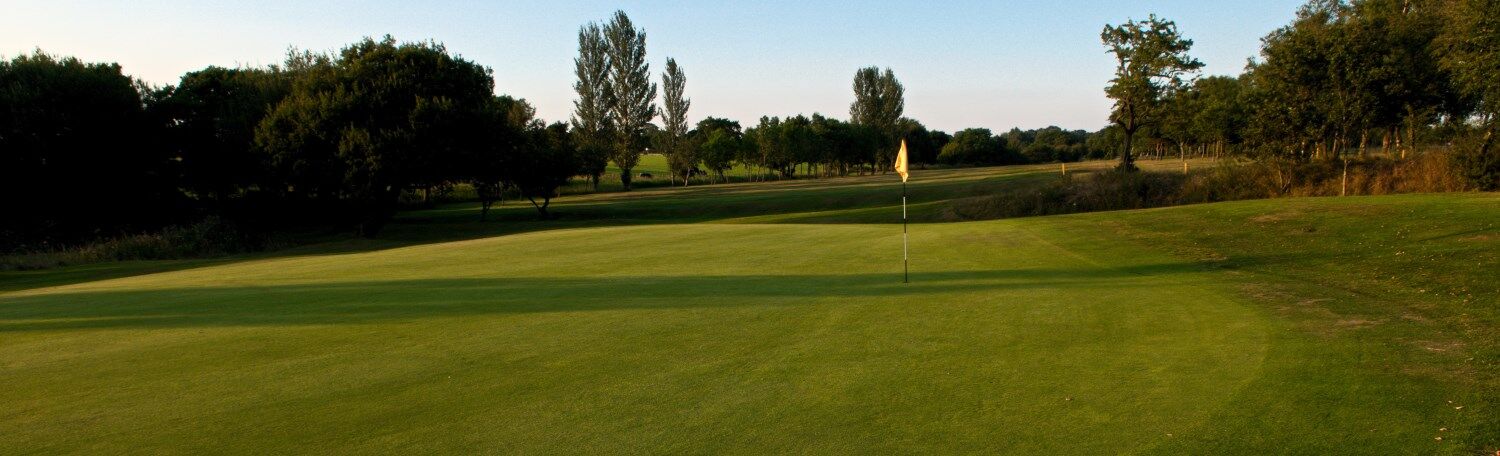
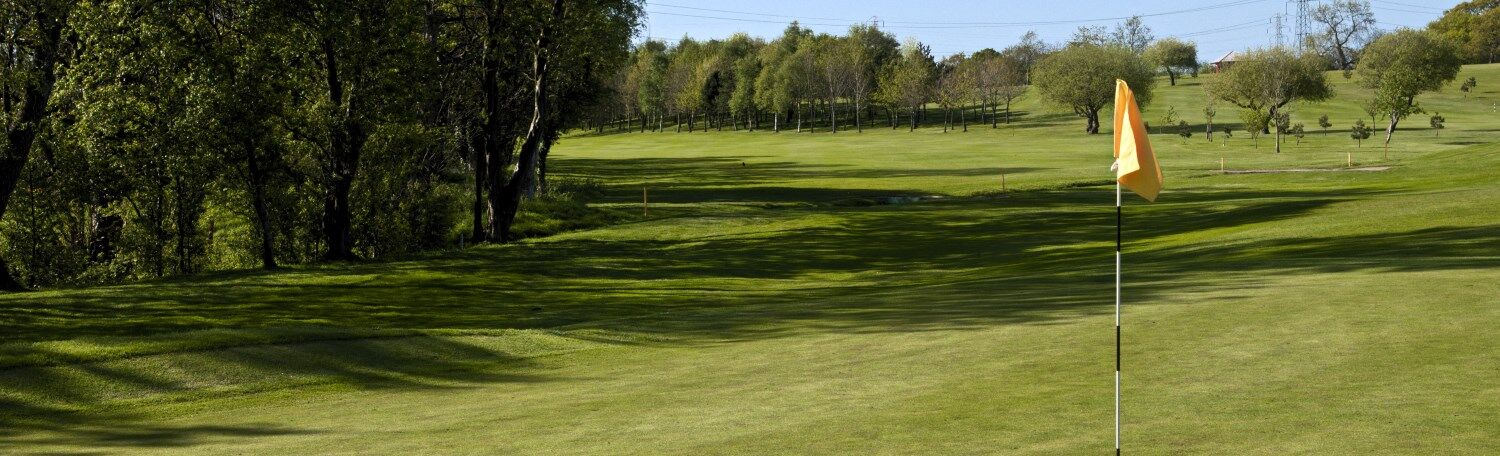
The Course - Hole 6

Pro’s Tip
This is the second of the Par-3s, and from an elevated tee is a match for anyone’s nerves. Out-of-Bounds which runs down the right hand side of the hole and alongside the green certainly helps focus the mind, especially with the prevailing wind pushing the Tee Shot towards the greenside bunker and the OOB. A second bunker awaits for the Tee shot straying to the right, whilst a pull to left could leave a tricky second shot from the Semi-rough. The final test is the Mackenzie green which runs at an angle to the Tee and has plenty of contour to add to your woes. Perhaps playing short or left of the green and relying on a good chip and single putt is well worth considering. Many a good score is ruined on this short, but difficult hole!.
|
150 Yds |
135 Yds |
125 Yds |
PAR 3 |
Created by intelligentgolf version 10.1.2.


2024 © Copyright by Ashton & Lea Golf Club. All Rights Reserved. Privacy Policy | Terms & Conditions