Ashton and Lea Golf Club


The Course - Hole 11

Pro’s Tip
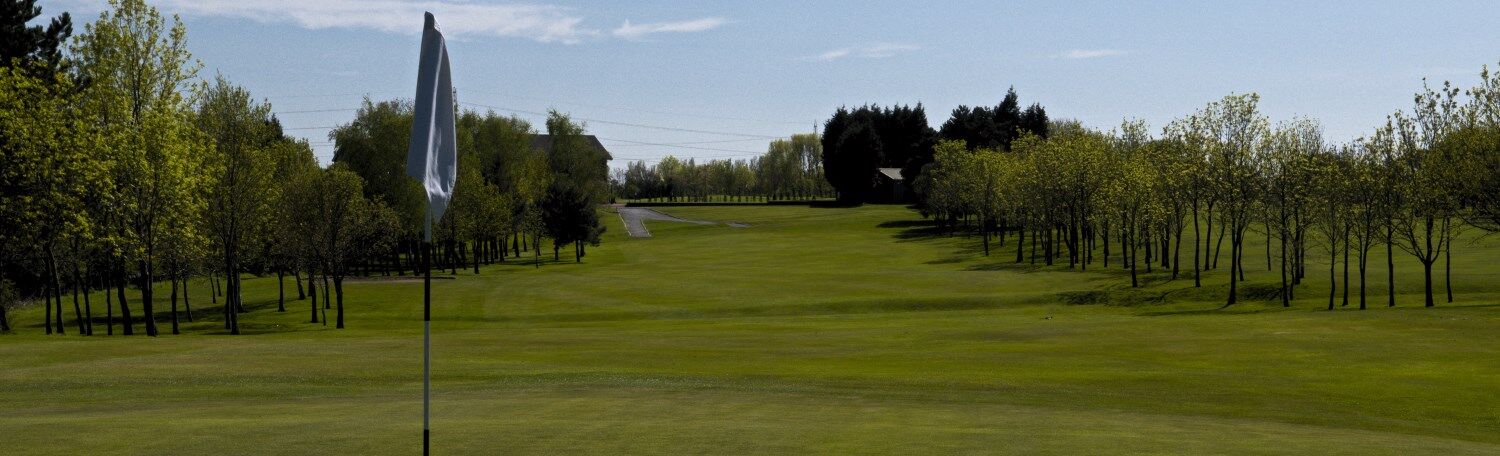
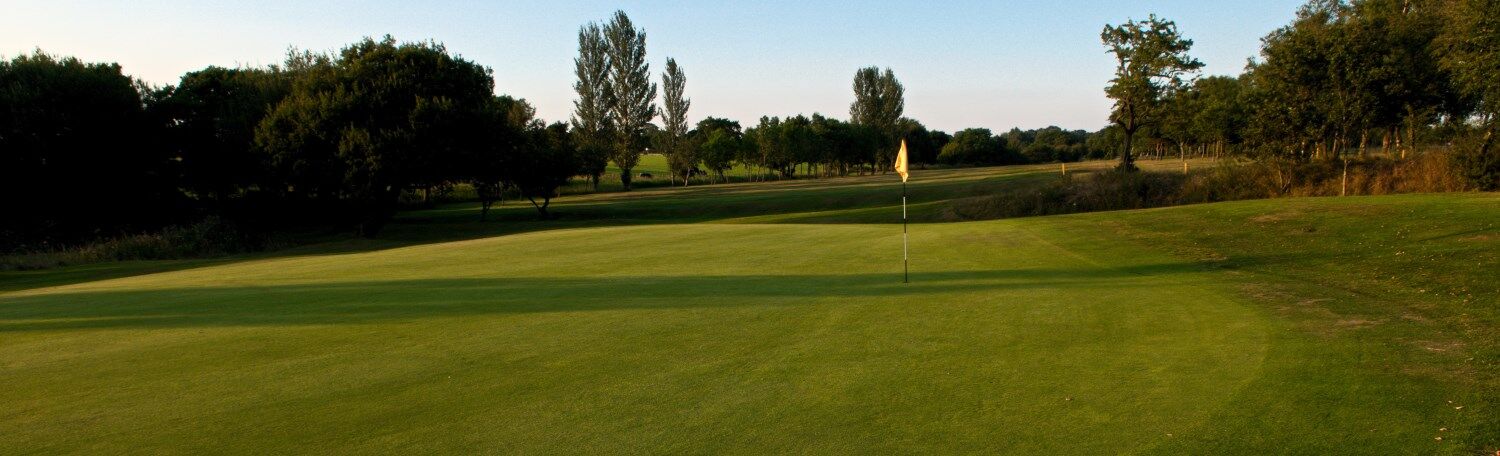
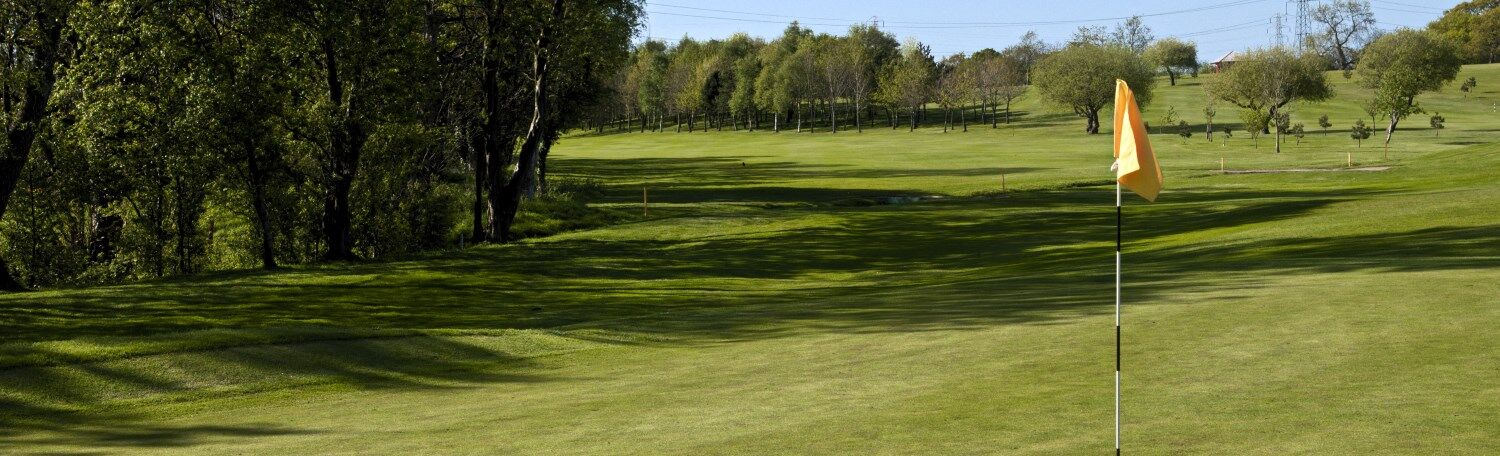
The last of our Par-3s again plays directly into the prevailing wind and is well protected with three deep bunkers. A pulled tee shot will mean a difficult chip back to the putting surface with still a hard test of your putting skills to follow. The green angles quite steeply from front to back. Too firm a putt from the back of the green can find you running off the left hand front area and down the banking.
|
143 Yds |
128 Yds |
128 Yds |
PAR 3 |
Created by intelligentgolf version 10.1.2.


2024 © Copyright by Ashton & Lea Golf Club. All Rights Reserved. Privacy Policy | Terms & Conditions